STAGE 04: START, CONFIGURE AND VERIFY · STEP 14 OF 16

Step 14: Install the Operating System

Prepare a bootable 16 to 32 gigabytes (GB)+ Universal Serial Bus (USB) flash drive from the official operating system (OS) source, boot into the installer via Unified Extensible Firmware Interface (UEFI), verify the target drive to protect existing data, and complete Windows 11 or Ubuntu/Linux installation.

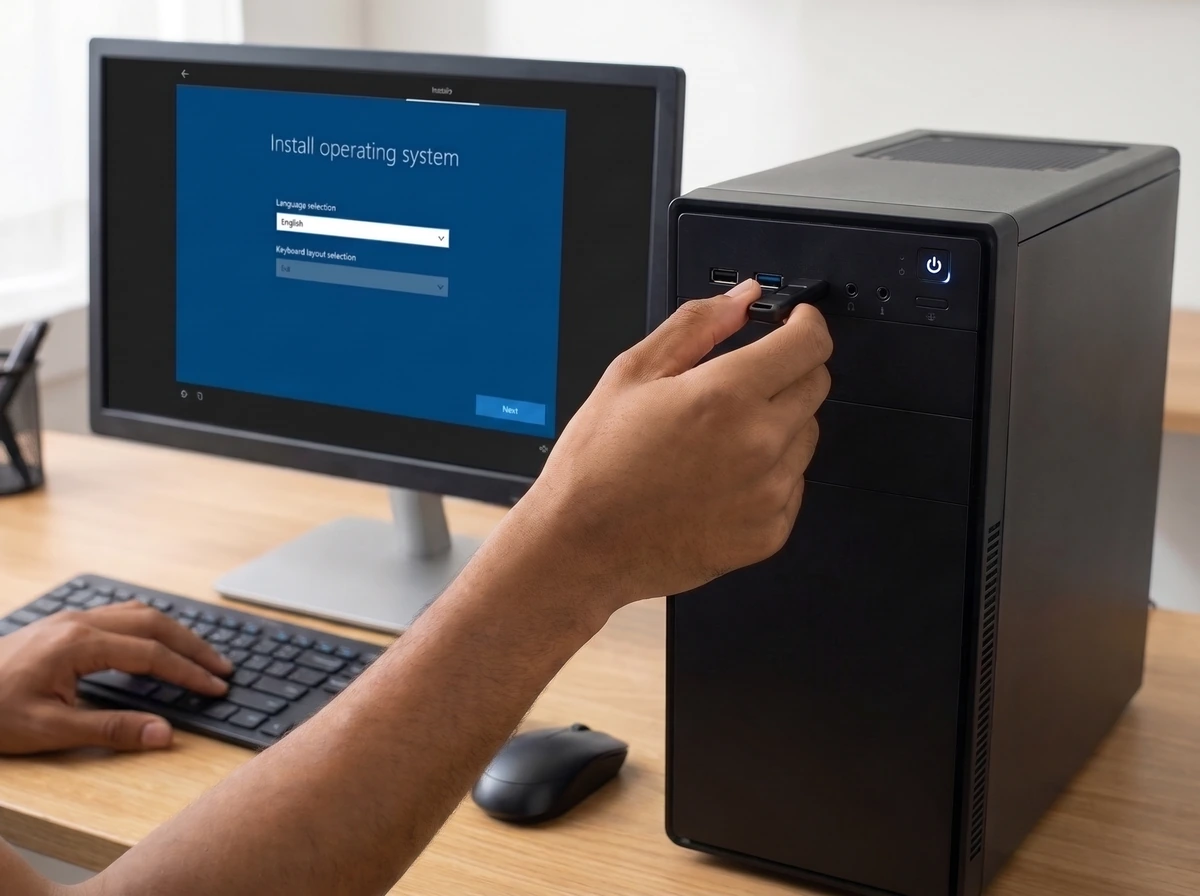
Caramel-brown hands inserting a bootable flash drive into the desktop computer while operating the keyboard with the operating system installer open on the monitor.
Plugging in the bootable USB installation drive and starting the clean operating-system installer displayed on the monitor.

Step-by-Step Instructions

  1. Create bootable installation media using the official operating-system source

    On a working computer with internet access, download the official installer or optical disc image (ISO) file directly from Microsoft (for Windows 11) or the official Linux distribution website (such as Ubuntu).

  2. Use a dedicated 16 to 32 GB or larger USB flash drive

    Prepare a reliable USB flash drive with at least 16 to 32 GB capacity (8 GB minimum for the installer image, with 16 to 32 GB recommended so you also have room for motherboard network/chipset drivers). Note that creating bootable media erases everything currently on that USB flash drive.

  3. Insert the installation USB into the new personal computer (PC)

    With the new PC powered off, plug the bootable USB flash drive directly into a rear motherboard USB port.

  4. Enter the boot menu or configure the boot device in UEFI

    Power on the PC and press the motherboard's boot-menu shortcut key (typically F8, F11 or F12 depending on the board manufacturer) or select the UEFI:<USB Drive Name> entry inside Basic Input/Output System (BIOS)/UEFI.

  5. Start the installer

    Allow the system to boot from the USB drive into the graphical installation wizard.

  6. Select the correct target drive and installation options

    Choose your primary high-speed M.2 Non-Volatile Memory Express (NVMe) Solid-State Drive (SSD) as the destination drive. Follow Path A for Windows 11 or Path B for Ubuntu/Linux below.

  7. Complete the installation

    Allow the installer to copy system files, create the required Extensible Firmware Interface (EFI) system partition and configure the bootloader.

  8. Restart and remove the installation USB when instructed

    When the installer prompts to restart (or during the first reboot), unplug the installation USB flash drive so the computer boots into the newly installed operating system on your internal SSD rather than restarting the USB installer.

A

Path A: Windows 11 Installation

Official clean installation procedure for Windows 11:

  • 1. Media Creation: Download the official Windows 11 Installation Media tool from microsoft.com and write it to your 16 to 32 GB+ USB flash drive.
  • 2. UEFI Readiness: Confirm UEFI boot mode and firmware Trusted Platform Module (fTPM) / Intel Platform Trust Technology (PTT) (Trusted Platform Module 2.0) and Secure Boot support are enabled in BIOS (enabled by default on modern Intel and Advanced Micro Devices (AMD) motherboards).
  • 3. Custom Install: In the Windows Setup wizard, select language/keyboard preferences, click 'Install', accept the licence terms and choose 'Custom: Install Windows only (advanced)' for a clean build.
  • 4. Target Drive Selection: Select the 'Unallocated Space' on your target M.2 SSD and click 'Next'; Windows automatically creates the required EFI, Microsoft Reserved (MSR) and primary partitions.
  • 5. Initial Out-of-Box Experience (OOBE) Setup: After automatic restarts, complete the initial configuration wizard (region, account and privacy settings) to reach the Windows desktop.
B

Path B: Ubuntu / Linux Installation

Official clean installation procedure for Ubuntu or a modern desktop Linux distribution:

  • 1. Media Creation: Download the official 64-bit Desktop ISO from ubuntu.com (or your chosen distribution's official site) and write it to your 16 to 32 GB+ USB flash drive using a verified image writer such as BalenaEtcher or Rufus.
  • 2. Live Session / Installer: Boot from the UEFI USB entry and select 'Try or Install Ubuntu'.
  • 3. Installation Type: Choose 'Erase disk and install Ubuntu' (only after confirming the selected disk is your intended target drive) and select your target NVMe or Serial Advanced Technology Attachment (SATA) SSD from the drive dropdown.
  • 4. User & Timezone Configuration: Set your timezone, hostname, username and strong password while files are copied to the SSD.
  • 5. Reboot: Click 'Restart Now' when prompted, then remove the USB flash drive when instructed on screen and press Enter.

Important Warnings & Precautions

  • CRITICAL DATA WARNING: A clean OS installation or deleting/formatting partitions permanently erases data on the selected drive. If your build includes any reused SSD or Hard Disk Drive (HDD) containing existing files, identify drives carefully by model name and capacity, or physically disconnect secondary drives during OS installation so you cannot accidentally format the wrong drive.

Step 14 Completion Checklist

Confirm every item below before moving to the next step:

  • Bootable 16 to 32 GB+ USB flash drive created from the official Microsoft or Linux source.
  • Target OS drive verified by model name and capacity (any drive with existing data protected).
  • Operating system installed cleanly in UEFI mode onto the primary SSD.
  • Installation USB removed on restart and system booted to the desktop.

Relevant Components in This Step

Open any component page to review its physical parts, types and specifications:

Relevant Tools for This Step