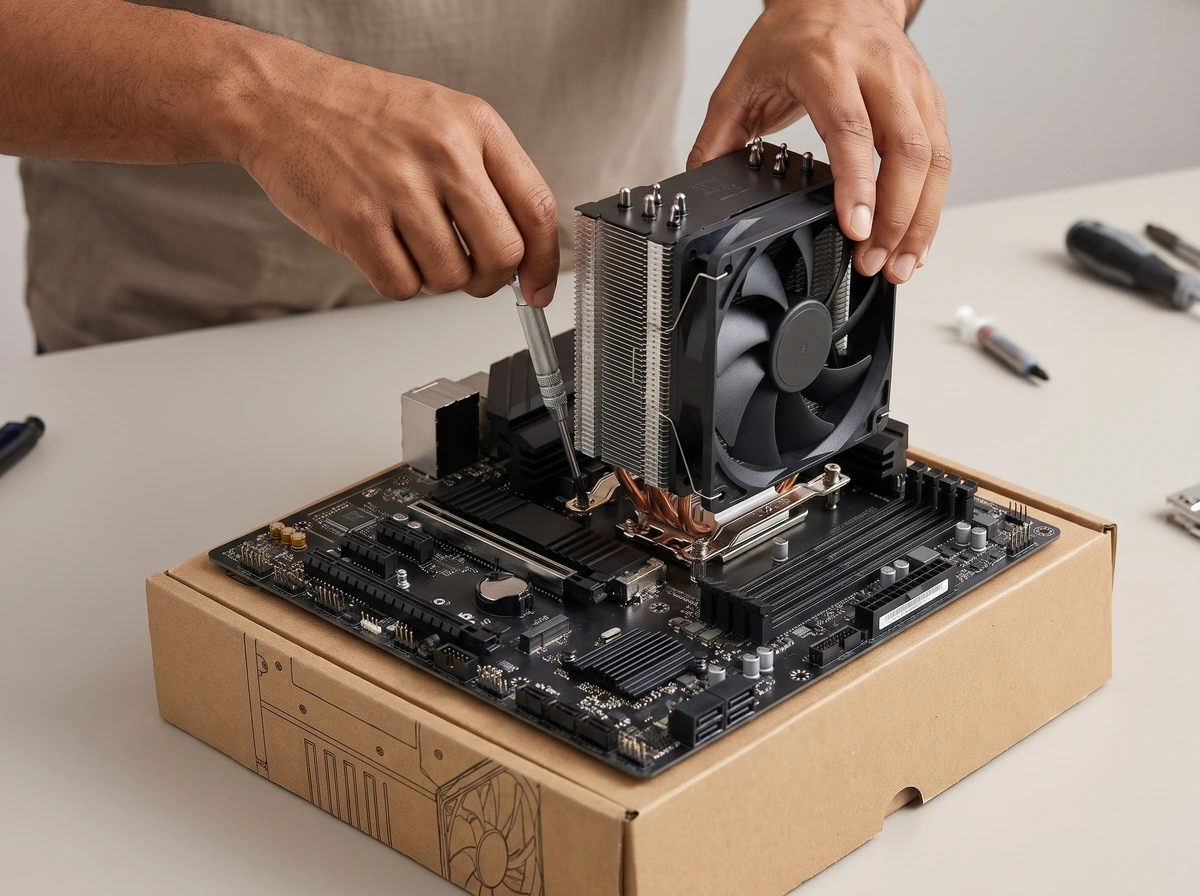
A
Path A: Air Cooler Installation
Air coolers transfer heat from the CPU integrated heat spreader through a metal cold plate and heatpipes into a fin stack cooled by one or more fans.
- 1. Identify the correct mounting hardware: Select the exact backplate, spacers and mounting bars designated for your CPU socket in the cooler's manual.
- 2. Install the required backplate and mounting brackets: Fit the cooler backplate behind the motherboard (or use the board's stock backplate if specified) and secure the socket mounting brackets on the front.
- 3. Remove the protective film from the cooler's contact plate: Peel off any plastic sticker or protective cover from the bottom metal cold plate.
- 4. Check whether thermal compound is already pre-applied: Inspect the bottom of the cooler or stock heatsink to see if a layer of grey thermal paste is already factory-applied.
- 5. Apply thermal paste only when required: If thermal paste is not pre-applied, apply a small amount of non-conductive thermal compound to the centre of the CPU heat spreader (or follow the pattern recommended in the cooler manufacturer's manual).
- 6. Position the cooler correctly over the CPU: Align the heatsink's mounting screws with the bracket threads and orient the tower so its fan blows toward the case's exhaust path without colliding with the Random Access Memory (RAM) modules.
- 7. Tighten its mounting screws evenly and progressively: Alternate a few turns at a time between the opposing screws (or follow a diagonal X-pattern for four screws) so pressure spreads evenly across the CPU until the stops are reached.
- 8. Connect its fan to the correct CPU fan header: Plug the 4-pin Pulse Width Modulation (PWM) fan cable into the motherboard's primary CPU_FAN header.
- 9. Confirm that the fan cannot obstruct nearby components: Verify that the fan clears the RAM heat spreaders and that no fan wire can touch the spinning blades.