STAGE 04: START, CONFIGURE AND VERIFY · STEP 16 OF 16

Step 16: Final Configuration, Testing and Completion

Configure Extreme Memory Profile (XMP) and Extended Profiles for Overclocking (EXPO) memory profiles after verifying baseline stability, monitor cooling temperatures and fan curves, run Central Processing Unit (CPU), Graphics Processing Unit (GPU), Random Access Memory (RAM) and storage workloads, close the case panels and complete the build.

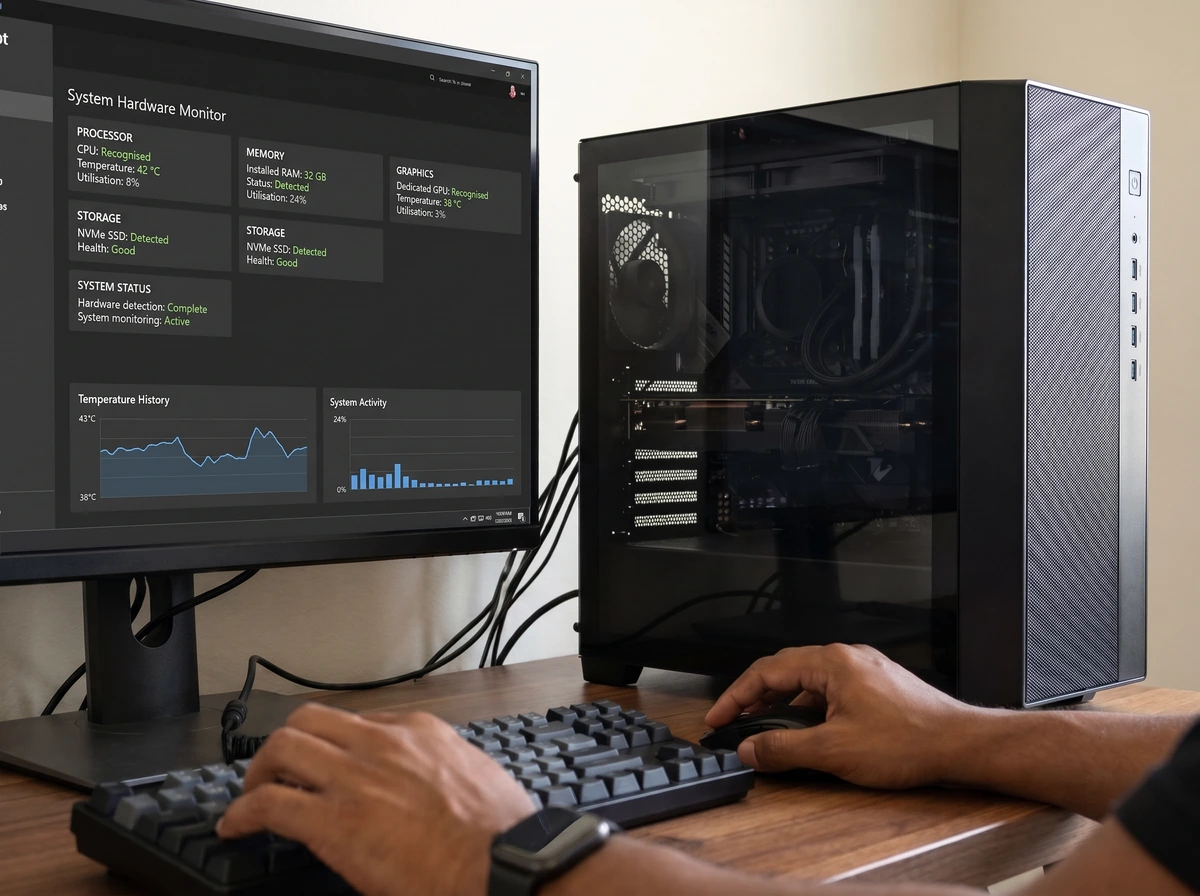
Completed desktop computer running at a workstation with caramel-brown hands at the keyboard and mouse while a hardware-monitoring utility verifies processor, memory, storage and graphics temperatures.
Completed desktop personal computer (PC) running at the workstation while verifying CPU, RAM, Non-Volatile Memory Express (NVMe) storage health and GPU temperatures in a system monitoring utility.

Step-by-Step Instructions

  1. Shut down the system after completing software stability verification

    Once memory configuration, thermal verification and hardware testing (detailed in the sections below) are confirmed stable, perform a clean operating system (OS) shutdown.

  2. Disconnect power before making any internal adjustments

    Switch the Power Supply Unit (PSU) off (O) and unplug the alternating current (AC) power cable before touching any internal cable or bracket.

  3. Complete cable management

    Secure your final rear cable bundles neatly with Velcro straps or zip ties so the rear side panel closes flat without bulging.

  4. Recheck that cables cannot obstruct fans

    Perform one final visual inspection inside the main chamber to confirm all fan blades and GPU power cables remain completely clear.

  5. Reinstall the case panels

    Refit the rear cable-management panel, front/top mesh panels, dust filters and main side panel, fastening all thumbscrews or latches securely.

  6. Connect the monitor and external peripherals

    Position the finished system unit in a well-ventilated spot on or beside your desk (avoid enclosed cabinets or thick high-pile carpet that blocks bottom PSU vents), reconnect the display cable to the GPU, and connect your keyboard, mouse, audio, network and AC power.

  7. Confirm the system starts successfully and is ready for normal use

    Switch on the PSU, press the power button and confirm the completed computer boots cleanly to the desktop.

1

Memory Configuration (Intel XMP / Advanced Micro Devices (AMD) EXPO)

By default, Double Data Rate 4 (DDR4) and Double Data Rate 5 (DDR5) memory runs at baseline Joint Electron Device Engineering Council (JEDEC) speeds until its rated profile is enabled in Basic Input/Output System (BIOS) / Unified Extensible Firmware Interface (UEFI):

  • What XMP and EXPO Do: XMP (on supported Intel systems) and EXPO (on supported AMD systems) load the memory kit's tested frequency, timings and voltage stored on the RAM module.
  • Enable Only After Baseline Stability: Enable XMP or EXPO in BIOS/UEFI only after confirming your new PC boots, installs the OS and operates stably at default settings.
  • Verify Stability: Because XMP and EXPO operate the CPU's integrated memory controller above baseline JEDEC specifications (a form of memory overclocking), always test stability after enabling a profile.
  • Revert if Instability Occurs: If the system fails to boot, crashes or produces memory errors with XMP/EXPO enabled, return to default BIOS memory settings (or select a slightly lower supported speed/update the BIOS).
2

Cooling and Temperatures

Verify that the CPU cooler, GPU cooler and case airflow keep components well within manufacturer operating limits:

  • Verify Fans and Pumps Operate Correctly: Confirm all case fans, CPU fans and All-in-One (AIO) pumps respond smoothly.
  • Check Idle and Load Temperatures: Monitor CPU, GPU, motherboard Voltage Regulator Module (VRM) and M.2 Solid-State Drive (SSD) temperatures both at idle and under sustained load against the specific hardware manufacturer's operating guidance.
  • Adjust Fan Curves if Necessary: Use BIOS/UEFI fan controls to set a smooth, quiet fan curve that ramps up progressively as CPU temperature rises.
  • Confirm Unobstructed Airflow: Ensure case dust filters are clean and intake/exhaust vents have open breathing room around the chassis.
3

Hardware Testing and Verification

Run practical verification checks to confirm every subsystem works reliably under real workloads:

  • Component Recognition: Confirm in Task Manager / System Information that the CPU core/thread count, full RAM capacity and rated speed, GPU model and all storage drives are properly recognised.
  • Memory, Storage and Stability Tests: Run a memory diagnostic check and verify storage read/write health and Self-Monitoring, Analysis and Reporting Technology (S.M.A.R.T.) status.
  • Reasonable CPU and GPU Workloads: Run a realistic multi-core CPU workload and a three-dimensional (3D) graphics workload for 15 to 30 minutes to confirm thermal equilibrium and stable power delivery.
  • Monitor for Errors: Watch for any abnormal temperatures, fan rattling, display artefacts, errors, crashes or unexpected shutdowns.
  • Check All Input/Output (I/O) Ports: Test networking (Ethernet and wireless networking (Wi-Fi)/Bluetooth), rear and front-panel audio, front and rear Universal Serial Bus (USB) ports and display outputs.

Important Warnings & Precautions

  • Always shut down and unplug AC power before closing internal cable compartments or adjusting fan headers.
  • If enabling an XMP or EXPO memory profile causes system instability or blue screens, revert to default memory settings or lower the memory multiplier in BIOS.

Step 16 Completion Checklist

Confirm every item below before moving to the next step:

  • Default system stability confirmed before enabling XMP (Intel) or EXPO (AMD) memory profile.
  • Idle and load temperatures verified normal across CPU, GPU and storage.
  • CPU, GPU, RAM, storage, networking, audio and USB ports tested and confirmed working.
  • Final cable management completed with all fan blades clear.
  • Case panels reinstalled and completed desktop PC booting cleanly into the operating system.

Relevant Components in This Step

Open any component page to review its physical parts, types and specifications:

ASSEMBLY & VERIFICATION COMPLETE

Build Complete: Your Desktop PC Is Ready

You have methodically assembled, configured and verified a complete desktop computer from component preparation and Electrostatic Discharge (ESD) safety through BIOS verification, operating-system installation, official driver setup and stability testing. Your system unit is properly cooled, neatly wired and ready for reliable everyday use and future upgrades.